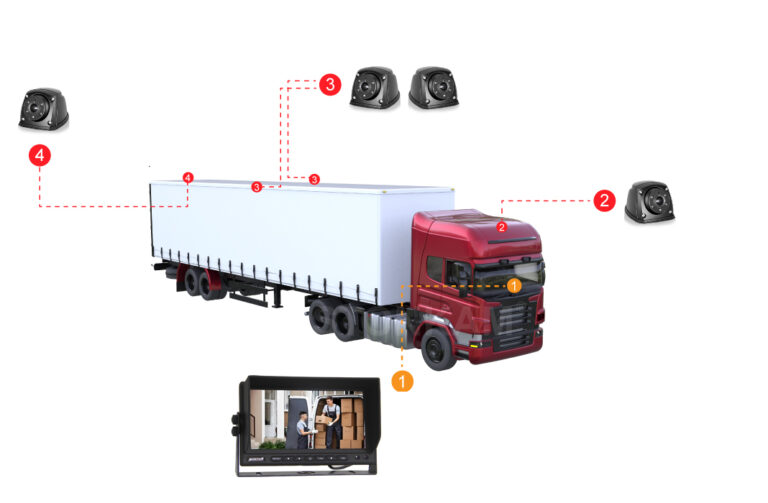
Installing a backup camera may seem like a challenging task, but with the right tools and guidance, it’s a straightforward DIY project that can enhance your vehicle’s safety and functionality. Whether you’re working on a car, RV, or agricultural machinery, a DIY installation saves time, reduces costs, and delivers a sense of accomplishment. With RIS Vision’s user-friendly and customizable products, you can easily transform your vehicle into a safer, more convenient ride.
Yes, you can install a backup camera yourself by following a few easy steps. With basic tools and a high-quality system like RIS Vision’s DIY-friendly kits, you can quickly enhance your vehicle’s safety and rear visibility—no professional help needed.
Why Install a Backup Camera Yourself?
- Cost Savings: Eliminate professional installation fees.
- Convenience: Complete the process on your own schedule.
- Personalization: Position the camera and adjust the settings to suit your needs.
- Enhanced Understanding: Familiarize yourself with your vehicle’s systems.
Tools You’ll Need
- Screwdrivers (Phillips and flathead)
- Power drill (optional, depending on mounting needs)
- Electrical tape
- Wire strippers
- Multimeter (optional, for testing connections)
- Backup camera kit (preferably from RIS Vision for quality and ease of use)
Step-by-Step Installation Guide
Step 1: Choose Your Camera Type
Select the best option for your vehicle:
- Wired Camera: Provides stable performance with a direct connection.
- Wireless Camera: Offers easier installation with fewer cables to manage.
RIS Vision’s range includes both wired and wireless systems, ensuring compatibility with all vehicle types.
Step 2: Decide the Best Mounting PositionThe placement of your camera is crucial for optimal performance:
- License Plate Mount: Ideal for most cars and trucks, easy to install.
- Bumper Mount: Offers a low, detailed viewing angle for precise reversing.
- Cab Roof Mount: Perfect for large vehicles like RVs, trucks, or agricultural equipment.
Ensure the camera has a clear, unobstructed view and is securely fixed.
Step 3: Mount the Camera
- Position the Camera: Attach it to your chosen location using screws or adhesive (included in RIS Vision kits).
- Route the Wiring (for wired systems): Thread the video and power cables along the vehicle’s interior, keeping them away from sharp edges and moving parts.
Step 4: Connect the Camera to the Monitor
- For Wired Systems:
- Plug the video cable into the monitor and connect the power wire to the reverse light circuit to activate the camera when reversing.
- For Wireless Systems:
- Pair the camera and monitor according to the system’s instructions, ensuring the wireless signal is stable.
Step 5: Test and Adjust
- Start your vehicle and shift into reverse.
- Check the monitor for a clear, uninterrupted image.
- Adjust the camera angle if necessary to maximize visibility and eliminate blind spots.
- Inspect connections for stability to prevent flickering or disconnection.
Troubleshooting Common Issues
- Blurry Image: Wipe the lens clean or check for protective film.
- No Signal: Verify power and video connections, and ensure the wireless transmitter is properly paired.
- Distorted Image: Adjust the monitor’s settings or inspect cable connections.
Benefits of RIS Vision Backup Camera Kits
- User-Friendly Design: Perfect for DIY installation.
- High-Quality Components: Reliable performance in all weather conditions.
- Customizable Options: Tailored to your vehicle’s needs.
- Comprehensive Support: Backed by excellent customer service and technical guidance.
Summary
Installing a backup camera yourself is easier than you might think. By following this guide and using RIS Vision’s top-tier camera kits, you can upgrade your vehicle’s safety, save money, and enjoy the satisfaction of a successful DIY project. Whether for a car, RV, or agricultural vehicle, a well-placed camera enhances convenience and peace of mind.
Ready to enhance your vehicle’s safety? Explore RIS Vision’s customizable and easy-to-install backup camera systems today. Visit our website to find the perfect solution for your needs.

